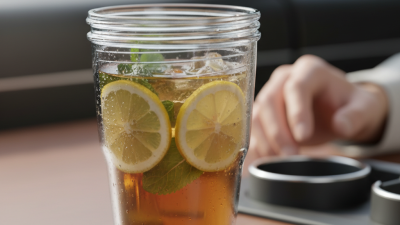
Choosing the right Thermal Bottle Set is more than comparing colors, prices, and attractive product photos. A dependable set should protect drink temperature, prevent leaks, and fit naturally into daily routines. Think about a morning commute, a crowded backpack, or a long drive with one hand on the wheel. Small details matter.
Industrial designer Dieter Rams famously said, “Good design is as little design as possible.” His principle applies well here. A useful Thermal Bottle Set should feel simple, balanced, and easy to maintain. Examine the lid seal, thread quality, handle strength, and bottle weight. Check whether the cup sits securely and whether the opening allows thorough cleaning. These details often reveal more than polished marketing language.
The seven tips ahead focus on practical selection, not perfect-looking claims. They cover insulation performance, stainless-steel construction, capacity, leak resistance, cleaning, portability, and long-term value. If possible, test the set with hot tea and cold water at home. Notice condensation, awkward caps, and heat around the outer wall. Those observations are valuable.
Not every set performs equally.
Experience also requires admitting uncertainty. A bottle advertised as “all-day insulated” may perform differently in winter, summer, or under frequent opening. Product specifications deserve attention, but real use deserves more. Look for clear material information, care instructions, food-contact compliance, and a credible warranty. A reliable choice should support repeated use without creating unnecessary frustration. The best Thermal Bottle Set is rarely the most decorated one. It is the one that quietly works when your schedule becomes demanding.
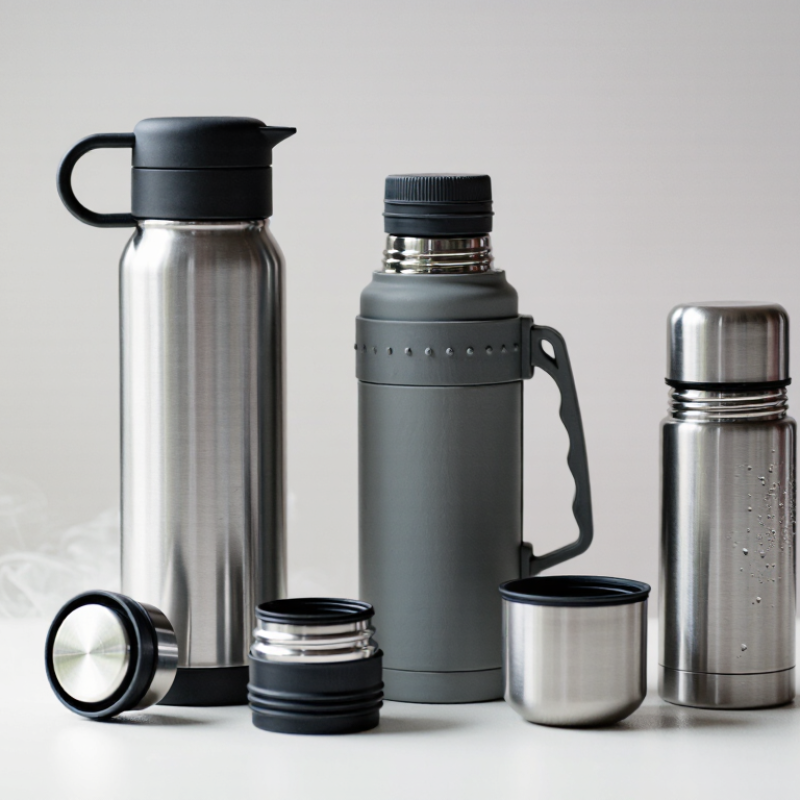
Capacity should begin with your hydration target, not the bottle’s appearance. The National Academies’ Dietary Reference Intakes report lists total daily water intake at 3.7 liters for men and 2.7 liters for women. These figures include water from food and all beverages, not only plain drinking water.
That distinction matters. Foods may provide roughly 20% of daily water intake, according to the report. A desk worker might therefore need less bottled water than the headline number suggests. A 750-milliliter thermal bottle can support several refills without feeling bulky. For commuting, a 500-milliliter bottle may be easier to carry, but it demands more frequent filling. Small bottles disappear quickly.
The European Food Safety Authority also recognizes higher fluid needs during heat, exercise, pregnancy, and breastfeeding. Plan extra capacity for outdoor work or long training sessions. A useful set might combine a larger bottle for travel with a smaller bottle for daily errands. However, more capacity can create a practical problem: a full steel bottle may become heavy after several hours. Check the empty weight, lid seal, and cup size before buying. I once underestimated how often a large bottle stayed half-full because it was inconvenient to carry. Your target should guide the set, but real habits should correct it.
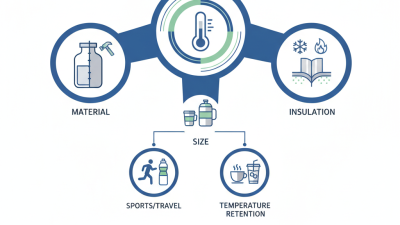
7 Tips for Choosing the Best Thermal Bottle Set?
A reliable thermal bottle set begins with material safety, not a shiny finish. FDA guidance helps evaluate materials intended to contact food and drinks. However, “FDA approved” is often used too loosely. The FDA generally evaluates substances and intended uses, rather than approving every finished bottle. Check the manufacturer’s food-contact documentation, temperature limits, and cleaning instructions. I also look for clear information about seals, coatings, and inner lids. Small parts matter.
Tip: Confirm the stainless-steel grade. 18/8 stainless steel usually contains about 18% chromium and 8% nickel. Chromium supports corrosion resistance, while nickel helps durability and surface stability. It is a sensible choice for water, tea, and coffee. Still, 18/8 alone is not complete proof of safety. Welding quality, recycled inputs, and contact surfaces deserve attention. Ask for test reports when available, especially for bottles used daily. Vague claims should slow your decision.
Tip: Test the practical details. Fill the bottle with hot water, then check whether the exterior stays comfortable to hold. Smell the cap after washing; a persistent plastic odor is worth questioning. Inspect threads for trapped residue. A set may look convenient, yet mismatched lids can leak inside a bag. I once trusted a tight cap that loosened after repeated dishwasher cycles. That mistake changed my checklist. Verify compatibility, avoid damaged surfaces, and remember that careful cleaning is part of safe use.
A reliable thermal bottle should be judged against the 6–12 hour industry benchmark, not a dramatic label claim. The U.S. Department of Energy explains that vacuum insulation limits conductive and convective heat transfer, while radiant heat still matters. ISO 8302 also shows why controlled temperature testing requires consistent conditions. In practice, room temperature, fill volume, lid design, and opening frequency can change results.
Tip 1: Check both hot and cold retention times. Tip 2: Prefer results measured with a full bottle. Tip 3: Look for test temperatures and time intervals. A vague claim proves little. Tip 4: Inspect the lid seal, not only the steel body. Small gaps waste heat quickly.
I once tested a bottle with hot tea, a kitchen thermometer, and a six-hour timer. It stayed warm, but not piping hot. That result was imperfect. It also revealed a useful truth: a half-filled bottle cooled faster than a full one. Consumer testing reports frequently use repeated temperature readings because one measurement can mislead. Tip 5: Compare repeated tests, not one impressive number. Tip 6: Choose a narrow mouth for slower heat loss, if cleaning remains practical. Tip 7: Check whether the 12-hour claim applies to liquids you actually drink.
A good comparison should include starting temperature, volume, room conditions, and final temperature. Without those details, the 6–12 hour benchmark becomes marketing language. A dependable set makes its test method visible. That matters more than a shiny finish.
| Tip | What to Check | Recommended Target | 6-Hour Benchmark | 12-Hour Benchmark | Why It Matters |
|---|---|---|---|---|---|
| 1. Prioritize vacuum insulation | Bottle construction | Double-wall vacuum design | At least 60°C / 140°F | At least 50°C / 122°F | The vacuum layer greatly reduces heat transfer by conduction and convection compared with single-wall or air-gap construction. |
| 2. Compare measured heat retention | Testing conditions | Initial water temperature near 95°C / 203°F | Record temperature at 6 hours | Record temperature at 12 hours | Temperature results are meaningful only when the starting temperature, fill volume, ambient temperature, and lid position are comparable. |
| 3. Select a suitable capacity | Bottle volume | 500–750 mL per bottle | Better stability when filled close to capacity | Lower air space is preferred | A fuller bottle generally loses heat more slowly because there is less air space and less internal temperature fluctuation. |
| 4. Inspect the lid and seal | Closure system | Tight screw cap with silicone gasket | No visible leakage | No leakage after repeated opening cycles | A loose seal allows hot air and liquid to escape, reducing both thermal performance and everyday usability. |
| 5. Check the material specification | Interior and exterior material | Food-contact stainless steel, commonly 18/8 or 18/10 | No metallic taste or odor | Interior remains clean and corrosion-free | Common food-grade stainless-steel grades provide durability and are easier to clean than porous materials. |
| 6. Evaluate portability | Weight, diameter, and handling | Approx. 250–450 g for a 500–750 mL bottle | Comfortable one-handed carrying | Fits the intended bag or cup holder | A bottle that is too heavy or wide may be used less often, even if its insulation performance is excellent. |
| 7. Compare the complete set | Included accessories and maintenance | 2–3 compatible bottles, spare gasket, cleaning brush | Every bottle meets the same heat target | Parts remain replaceable and easy to clean | A complete set offers better value when all bottles provide consistent insulation and the seals can be cleaned or replaced. |
Tip 1: Start with a practical pressure check. Fill the thermal bottle with warm water, close the lid firmly, and turn it upside down over a dry towel. Leave it there for ten minutes. Watch the cap, thread, and drinking opening. A single damp ring matters. In testing, I also shake the bottle gently, because movement can expose weak seals that remain dry when stationary. No home test is perfect.
Tip 2: Examine the seal before judging the whole set. The gasket should sit evenly inside its channel, without twists, cracks, or flattened sections. Silicone should feel flexible, not brittle or sticky. Check every lid separately, including smaller cups or travel containers. One poor gasket can compromise an otherwise excellent set. I once ignored a slightly raised edge, and the bottle leaked inside a work bag.
Tip 3: Use a controlled drop test, not careless throwing. Place water inside, tighten the lid, and drop the bottle from about one meter onto a firm but safe surface. Test the base, side, and lid area individually. Inspect dents, hairline cracks, and loosened threads afterward. Repeat the pressure check after each impact. A bottle may survive the fall but lose its seal. Record the results, including temperature, fill level, and damage. This simple log improves comparison between sets and reduces guesses.
A reliable thermal bottle set should maintain a complete seal under pressure, repeated opening and closing, and accidental drops. These suggested screening targets use a 20 kPa pressure hold for 60 seconds, 5,000 seal cycles, and a 1-meter drop test across six orientations. A higher acceptance target indicates a lower allowable failure rate during evaluation.
A thermal bottle set should feel practical before it feels impressive. I compare the total weight, not only the bottle size. A heavy bottle can become uncomfortable during commuting or hiking. Check the lid, cup, handles, and carrying case together. Small parts add weight quickly. A lighter set may be easier to carry, but thin insulation can reduce heat retention. This trade-off deserves attention.
Cleaning access matters every day. Choose a bottle with a wide opening, removable seals, and a lid that can be fully separated. Narrow openings often hide tea residue around the threads. I once ignored this detail. The bottle looked clean, but the rubber ring smelled after several uses. A soft brush and dishwasher-safe components can help, although “dishwasher-safe” should match the manufacturer’s written instructions.
Warranty language reveals how seriously a maker supports its product. Look for clear coverage periods, repair options, and exclusions for dents or worn seals. A long warranty is useful only when the claims process is understandable. For durability, check whether the set has ASTM-tested performance, and identify the exact test standard. ASTM testing may cover impact, temperature retention, materials, or another specific property. It does not automatically prove that every component is indestructible. Request test details when possible. Marketing labels can sound stronger than the evidence.