Leave Your Message

7 Ceramic Soup Bowl Buying Tips for Global Buyers

Buying Ceramic Soup Bowls for international markets takes more than choosing an attractive color. Buyers need to compare capacity, weight, glaze consistency, packing strength, and the needs of their customers. A bowl that looks sturdy in a catalog may chip during handling or arrive with uneven glaze. Small details matter. Rim shape affects stacking and comfort, while a smooth foot ring helps protect table surfaces. Product photos rarely show these points clearly.

This guide outlines seven practical checks for evaluating suppliers and samples. Compare bowl dimensions and usable capacity, not just the stated size. Ask how production batches are checked for finish and shape consistency. Review packaging details, such as dividers and carton strength, before confirming an order. Samples tell more. Use them to assess balance, surface feel, and cleaning performance under the conditions recommended by the manufacturer. Request clear product specifications and relevant food-contact information for the destination market; requirements can vary. There are trade-offs. A heavier bowl may feel substantial, but it can raise shipping costs and make storage less convenient. No checklist removes every surprise, and sample quality may not perfectly represent a full production run. Careful questions, written specifications, and realistic expectations help buyers make a more dependable choice.
7 Ceramic Soup Bowl Buying Tips for Global Buyers

Define Ceramic Soup Bowl Types by Body, Glaze, and Intended Use

A soup bowl’s body affects weight, feel, and performance. Porcelain is often relatively light, while stoneware tends to feel substantial in the hand. Earthenware can offer a warmer, more rustic appearance, but buyers should confirm its intended care requirements. These are useful starting points, not guarantees. Ask suppliers for body specifications and evaluate production samples, especially when ordering across multiple batches.

Glaze changes both appearance and daily handling. A glossy surface is usually easy to wipe clean, while a matte finish may reveal utensil marks more clearly. Inspect the inside curve, rim, and foot for uneven coverage, pinholes, or rough spots. Small details matter. A bowl that looks smooth under showroom lighting may feel different after repeated washing, so test samples in realistic conditions.

Match the shape and capacity to the serving routine. Deep bowls help contain broth, while wider profiles suit noodles or toppings that need room. Check whether filled bowls stack securely and fit the shelves, trays, or dishwashers used by your customers. Confirm microwave and dishwasher suitability with the supplier rather than assuming it from the material. There is no perfect shortcut here: a comfortable bowl can still be awkward to store. Test the actual serving routine.
Compare Bowl Capacity and Dimensions with Your Serving Requirements

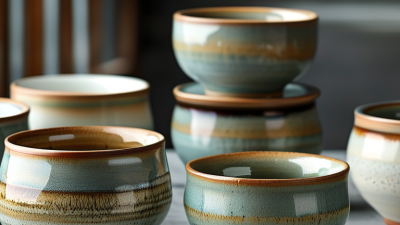
Capacity figures can mislead if they describe a bowl filled to the rim. Compare usable capacity instead: leave room for broth, noodles, and a spoon without spills. A 500 ml bowl may suit a modest soup portion, while a larger serving with rice or toppings needs more space. Test with the food you plan to serve. Water is a simple stand-in, but it cannot show how bulky ingredients sit.

Check the bowl’s inside diameter, depth, and overall width, not just its stated volume. A wide, shallow bowl cools soup faster and gives toppings room to spread. A narrower, deeper shape helps retain heat, but can make chunky food harder to reach. Small differences matter. Measure a filled sample against your usual ladle and serving tray. Also check the foot and rim: a broad base may improve stability, while a wide rim can reduce usable table space.

Think beyond the meal. Measure shelf height, dishwasher racks, and the space needed for stacked bowls. Ask suppliers for dimensions and capacity measured consistently, then verify a sample before ordering in quantity. This step is easy to skip when specifications look clear. It is also where expectations can drift: handmade or fired pieces may vary slightly, so confirm acceptable tolerances for your needs.

Check EU Lead and Cadmium Limits: 2.0 and 0.5 mg/L for Small Hollowware

When sourcing ceramic soup bowls, ask for migration-test evidence, not just a general safety statement. For small hollowware, compare results with the cited limits: 2.0 mg/L for lead and 0.5 mg/L for cadmium. Check that the report identifies the bowl’s size, glaze, test method, and tested sample. A shallow bowl and a deep bowl may not fit the same product category.

Look closely at the rim and interior glaze. These areas contact hot, acidic foods, such as tomato soup, and small glaze defects can be easy to miss under warehouse lighting. Request recent reports for the exact production material, not a similar-looking sample. Useful details include the laboratory name, test date, and measured migration levels. Keep copies with the purchase records.

One caution: limits and product classifications can depend on the applicable EU rules and test conditions. Treat 2.0 and 0.5 mg/L as figures to verify against current requirements for the specific bowl, rather than relying on a supplier’s label alone. I have seen paperwork that looked complete but omitted the sample description. That small gap matters. Ask the supplier to clarify it before approving bulk production.

Ceramic Small Hollowware: Claimed vs. EU Category 2 Migration Limits

How to read this chart: The supplied title states limits of 2.0 mg/L for lead and 0.5 mg/L for cadmium. For Category 2 ceramic articles that can be filled, the limits in EU Directive 84/500/EEC are 4.0 mg/L for lead and 0.3 mg/L for cadmium. Confirm the applicable category and current requirements for the product and market.

Source: Council Directive 84/500/EEC, Annex I, as amended. Values shown are migration limits, not product test results.

Verify Food-Contact Compliance Through ISO 6486 Testing

When comparing ceramic soup bowls, a glossy glaze cannot show whether lead or cadmium may migrate into food. Request a laboratory report referencing the applicable editions of ISO 6486-1 and ISO 6486-2. Part 1 describes the test method; Part 2 sets limits for release from ceramic ware. Check the report’s sample description against the bowl you plan to buy, including its glaze, decorative pattern, and rim.

Look for clear details: sample identification, test date, results, and the laboratory’s accreditation scope. ISO 6486 testing commonly uses a 4% acetic acid solution under specified time and temperature conditions. Confirm the report records the relevant conditions and product category. A report for a plain white bowl may not represent a colored or decorated version. Small differences matter.

Ask whether production samples were tested, not just an early prototype. Keep the report with purchase records, and agree how changes in glaze or supplier will be handled. One awkward point: paperwork can look complete while the sample match is unclear. Ask the lab or supplier to clarify before ordering.

Assess Export Packaging Against ISTA 3A Parcel-Shipping Tests

Ceramic soup bowls can survive export shipping only when the packed set is tested as a complete parcel. ISTA 3A evaluates packaged products moving through parcel-delivery systems, including impacts and vibration. A bowl’s shape, carton size, total weight, and protective materials all affect the result. A test on one packing configuration does not automatically validate another.

Tips: Test the actual export pack, not a sample wrapped differently for the lab. Separate each rim with shaped dividers, stop bowls from nesting tightly, and leave cushioning around the carton’s edges. Check the lid and base after testing for hairline cracks, chipped rims, or movement inside the box. Small shifts matter. Keep photos and notes on materials, pack sequence, and test conditions so suppliers can repeat the setup.

A neat-looking carton can still fail. The weak point may be a corner, an empty space above the bowls, or pressure from stacked cartons. Ask a qualified test laboratory to confirm the relevant ISTA 3A procedure for your parcel type and shipment configuration. Then review the results with the packer before approving production. Extra cushioning can reduce damage, but it also increases freight volume; finding the balance may take another test. That is worth acknowledging.

7 Ceramic Soup Bowl Buying Tips for Global Buyers - Assess Export Packaging Against ISTA 3A Parcel-Shipping Tests

No. Buying tip What to check Useful evidence or buyer question Why it matters for parcel shipping
1 Confirm bowl specifications Request the bowl’s material, capacity, dimensions, weight, and manufacturing tolerances. Confirm whether measurements refer to the rim, body, or base. Ask for a product specification sheet and a sample from the production process. Accurate product dimensions and weight help determine the fit, cushioning, and gross weight of the final parcel.
2 Inspect the ceramic for consistency Check samples for cracks, chips, sharp rim defects, unstable bases, and visible glaze flaws. Agree on inspection criteria and acceptable defect limits before production. Request an agreed sample approval process and a written quality-control checklist. Packaging cannot reliably protect products that already have defects or inconsistent shapes.
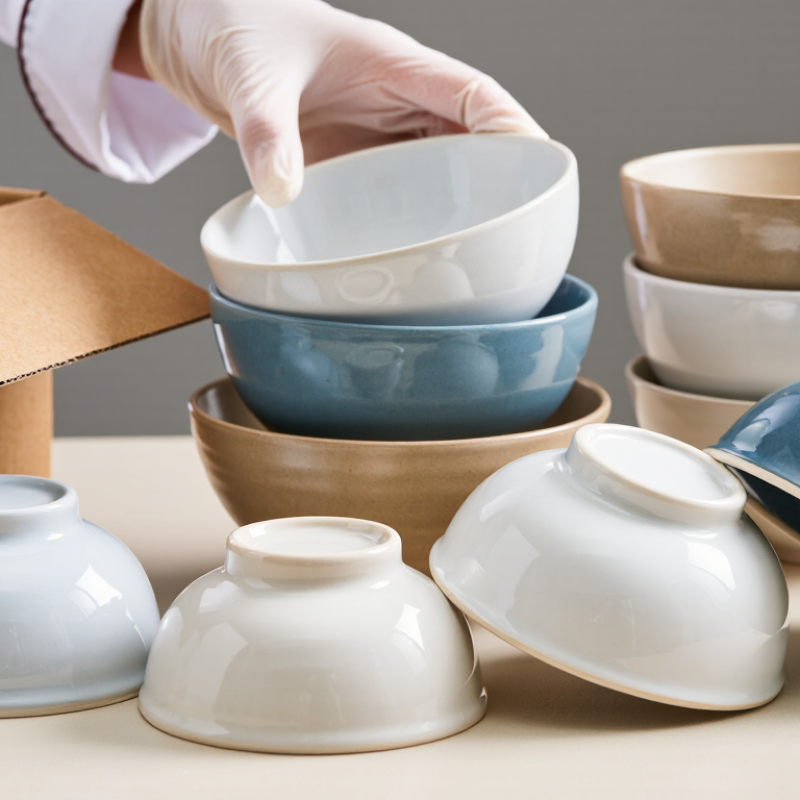
3 Check individual bowl separation Verify that bowls are separated so ceramic surfaces do not rub or strike one another. Review how rims, bases, and handles (if present) are protected. Request photos of a fully packed set and confirm the packing method matches the approved sample. Contact between hard ceramic surfaces can cause chips, abrasion, or breakage during handling and vibration.
4 Review the cushioning and carton fit Check that cushioning restrains movement and protects vulnerable areas without relying on the bowls to absorb impact. Assess the complete packed unit, not only the insert material. Ask for the packaging specification, including insert design, cushioning material, and the number of bowls per parcel. Performance depends on the interaction of the product, cushioning, and shipping container.
5 Assess the outer shipping carton Review carton construction, closure method, internal layout, and suitability for the packed weight and parcel dimensions. Check that the packing configuration stays consistent from shipment to shipment. Request carton specifications and photographs showing the sealed parcel and its internal arrangement. A parcel test applies to a defined packaged-product configuration; a different carton or pack-out may perform differently.
6 Request an appropriate ISTA 3A test report Check that the report identifies the tested packaged product, package configuration, test standard and version, test results, and any observed damage. Confirm the tested parcel is within the standard’s scope. Ask whether the report covers the exact bowl count, inserts, carton, and closure method being purchased. ISTA 3A is a general simulation test for individual packaged products shipped through a parcel delivery system; its procedures vary by package type and configuration.
7 Verify production packing and transit readiness Compare production packing with the test sample, agree on packaging-change approval, and confirm labeling, case quantities, and destination-specific shipping requirements. Include packaging controls in the purchase agreement and inspect a packed production sample before shipment. Results from a tested sample are useful only when production shipments use a materially equivalent packaging configuration.

Note: ISTA 3A is a laboratory simulation and does not guarantee damage-free delivery in every carrier network or shipment condition. Confirm the applicable test scope and package configuration with the testing laboratory.